Step 1: Installing ImageMagick (Windows users only)To use this plugin, PC users must install ImageMagick. As of version 3.50, Mac users no longer need to do this since the plugin includes it's own version. Step 2: Installing the stand-alone LR/Mogrify pluginDownload and unzip LR/Mogrify. You should now have a plugin called 'LRMogrify.lrplugin' containing the plugin files, and another called 'Piglet'. Lightroom 2If you have Lightroom 2 then you can add the plugin to Lightroom using the Plugin Manager.
Lightroom 1LRMogrify.lrplugin is the stand-alone plugin, and you need to copy it to the appropriate location. You may need to create the "Modules" directory. On a Mac, copy the plugin to: ~/Library/Application Support/Adobe/Lightroom/Modules On Windows XP, copy the plugin to: C:\Documents and Users\username\Application Data\Adobe\Lightroom\Modules On Windows Vista, copy the plugin to: C:\Users\username\AppData\Roaming\Adobe\Lightroom\Modules You should now restart Lightroom Step 3: Unlock the trial versionIf you have donated towards the project you should unlock the trial version using the registration code that you should have received.
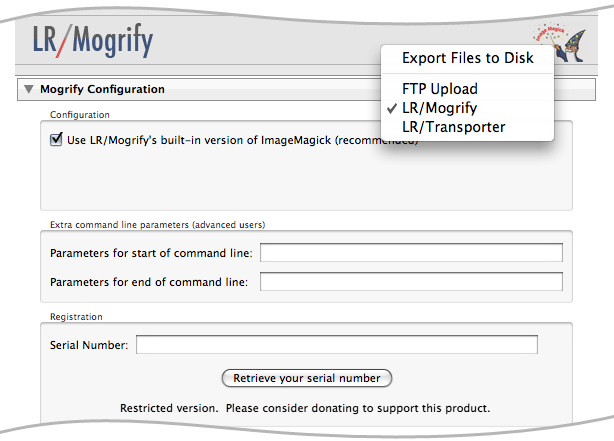
Step 4: Set up (Windows users only)Windows users now need to tell the plugin where to find ImageMagick's mogrify application.
Installing the LR/Mogrify PigletLR/Mogrify also comes as a Piglet which allows it to be used with plugins that integrate Jeffrey Friedl's Piglet manager. This allows you to use LR/Mogrify within another plugin. Note this this type of integration is now handled natively by Lightroom 2, and you can use LR2/Mogrify to this effect. To install the LR/Mogrify Piglet, copy the contents of the Piglet directory into the plugin directory of the plugin in question. Please read Jeffrey's Piglet page for more information. >> Quickguide |