Quick GuideAccessing StoryboarderTo create a storyboard you must first select the images that you wish to include. Then choose Create a Storyboard... from the Plugin Extras sub menu of the File menu. The dialog is divided into two tabs, one for the design and layout options, the other for the output file options. Design and Layout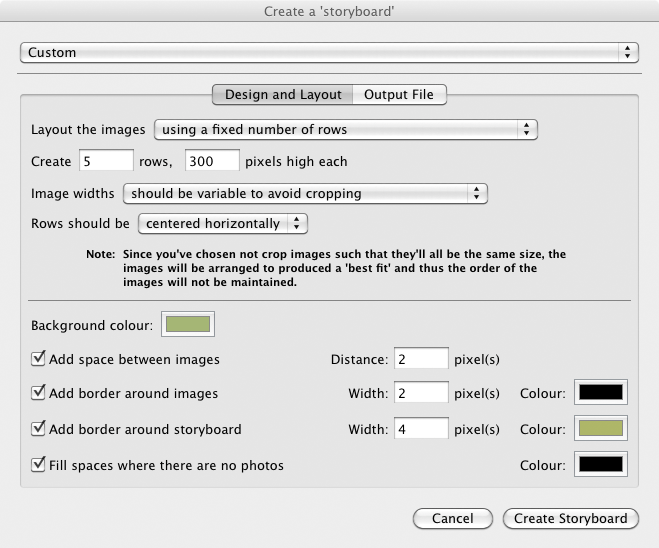 The individual images may either be laid out such that all the columns have the same width, or all the rows have the same height. There are various layout options. You may either choose to create a fixed width or height storyboard, choose the number or rows or columns, or else let Storyboarder create a square-ish layout. The settings should be fairly self explanatoty, but here are some examples: Two 150px wide columns, images cropped to aspect ratio of first image 
Square-ish format with 150px wide columns, columns aligned at the top, white background, 2px spacing, 2px grey borders 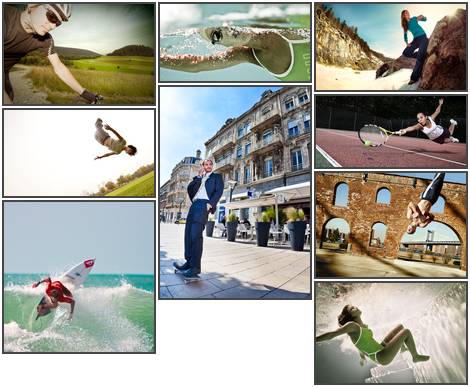
Thress 150px wide columns, columns centered vertically, white background, 2px spacing, gaps filled in grey, 2px grey border around entire storyboard 
OutputThis tab gives you control over the location and format and filename of your storyboard. You can also choose what to do with the storyboard image, and whether or not to reimport it into Lighroom. 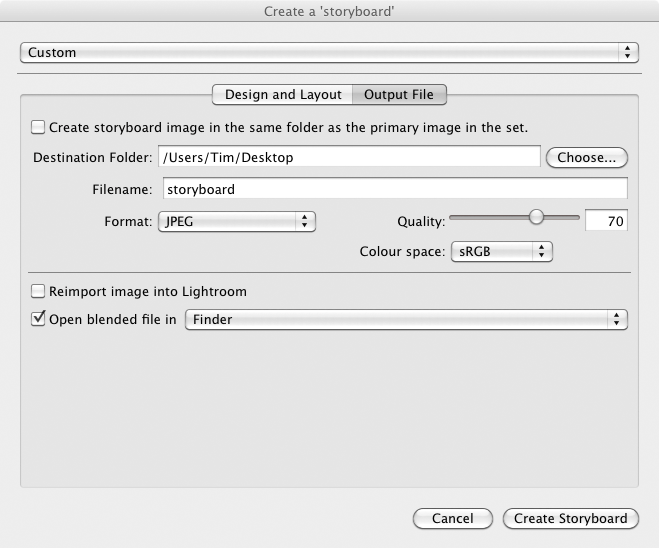 |